In the photo you can see the original state of the wall.
I've had the idea for a long time, to make for the cat, something like a shelf, a drawer, a lasagna or the like. I found some cool ideas online that inspired me and decided to add shelves for books to the main structure and a mink on top for the cat to sleep there and watch everything.
- How I made a huge cat complex at home. Part 1
- Here's what I needed:
- How to make a ladder for a cat with your own hands
- How to make a ladder for a cat with your own hands
- What materials can be used?
- Recommended tools for assembling the construction
- Step 4: Make connections
- Step 5: Glue the main structure.
- Safe cat shelves with your own hands.
- Step shelves.
- Transitional shelves (over-the-door shelves).
- Cot shelves.
- Natural "shelves."
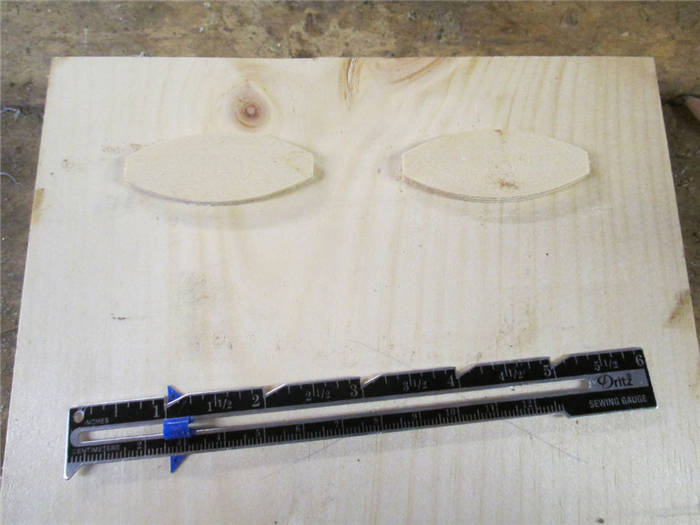
- Drawing, scale and tape measure.
- The necessary materials, quite budgetary
How I made a huge cat complex at home. Part 1
As promised, I am writing a detailed article about how I made a huge cat complex with my own hands. The article is divided into two parts, because it turned out so much information.
The first thing I will write, what tools and materials I used. And also calculate how much money it took for the materials.
I made it without any blueprints, from my head, so I will not give the measurements. There are a lot of ready-made solutions on the Internet, with the dimensions you can choose for yourself. Nothing worked for me, so I improvised and made it up as I went along.
Here's what I needed:
- A screwdriver with different drill bits;
- Electric jigsaw;
- Jigsaw for metal;
- Screwdriver, pliers;
- Knife, scissors, tape measure, ruler;
- Level, square;
- Stapler, a gun for hot glue;
- Vacuum cleaner;
- Brush, marker;
This is the list of tools I needed. I want to note right away, none of the tools for this project I did not buy specifically, all bought a long time ago.
How to make a ladder for a cat with your own hands
This is a community about pet cats where you can share photos, stories, and other purrfect content about aspects of life with purrfect slipper lovers.
✔Ordering other users. Using foul language or swearing is forbidden. Replacing part of the letters with "@", "#", "$", etc. if the original word is computable does not get rid of responsibility. The use of coarse proverbial language and references to physiological abnormalities are categorically discouraged;
✔ Posts off-topic. ✔ Posts must be relevant to the stated topic of the community;
✔ Posts about helping animals in the community without the obligatory tags: #dobryeruki #help #unrated
We'd also like to remind you that there is a special community on Pikaboo called "Aybolit. Help for Animals"
Dear friends who do not like the posts asking for help for animals, please add the tags: #help #dobryeruki, etc. to the black list.
✔Plagiarism! Don't misappropriate other people's ideas, writings, or other author's content.
✔Correct comments in the comments, outright flooding, provocation, propaganda of cruel and irresponsible attitude to animals, etc. participants are blacklisted without additional explanations and warnings!
Don't forget to put the tag "mine", "cat", "kotomafia" if you post your pets.
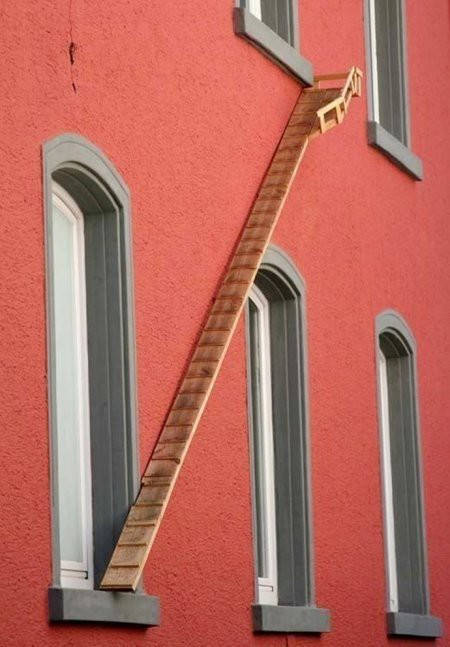
How to make a ladder for a cat with your own hands
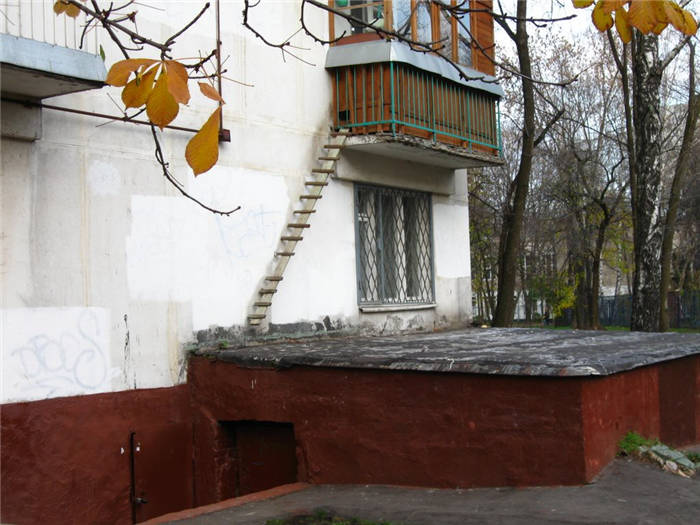
For such a ladder does not need much: a long board, slats, some nails, a shelf and all – your cat can already make an inspection of the property independently without your participation. The main thing that the window was open.
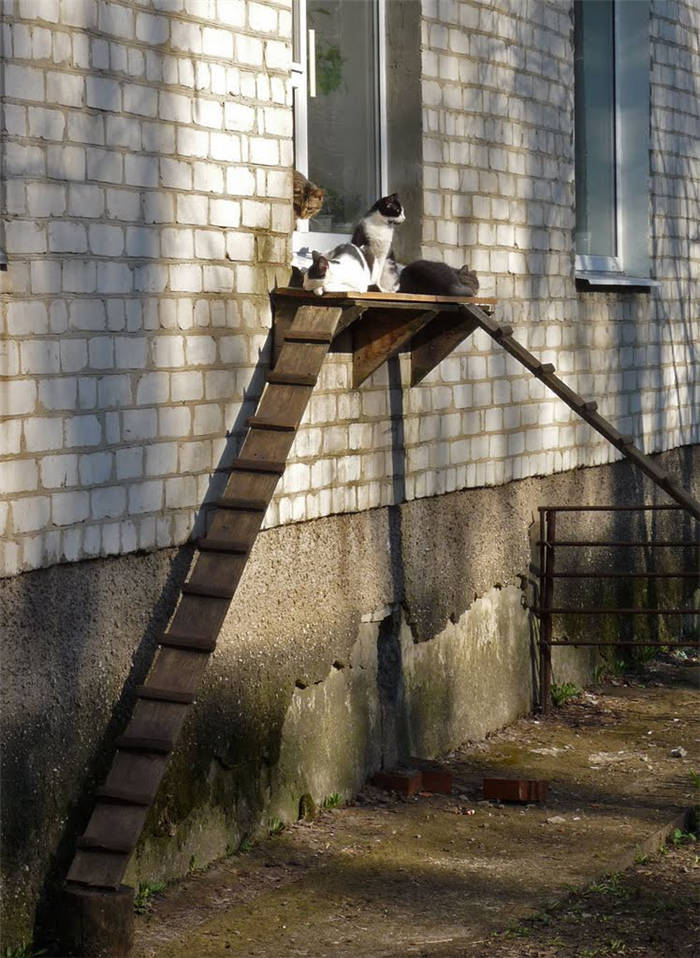
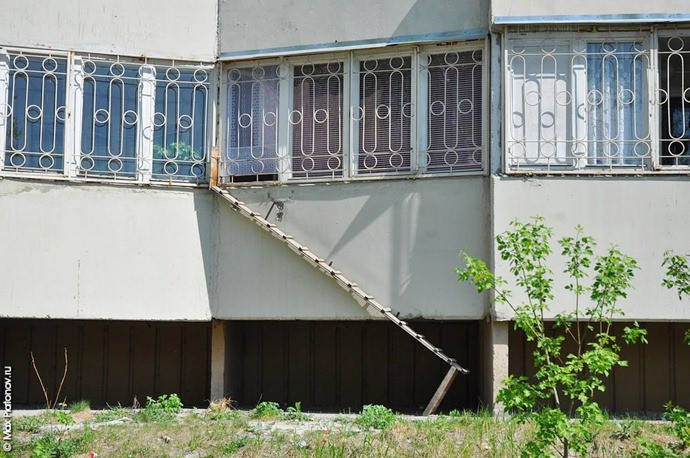
And here you do not even need to open the window – open 24 hours:) You can safely bring your cat friends.
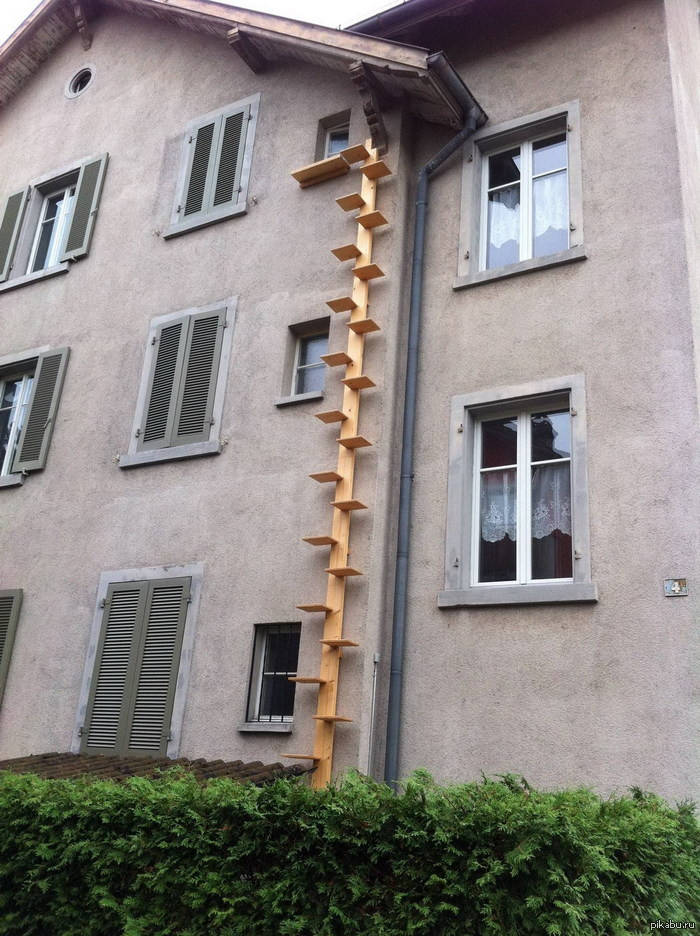
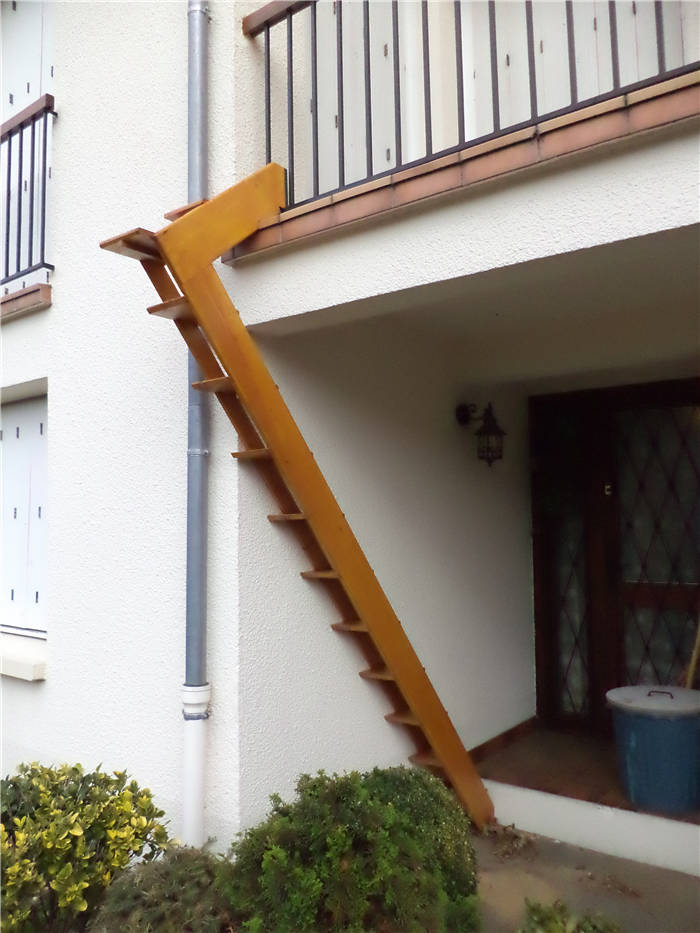
Well, this is an example for the laziest owners and the most stubborn cats. By the way, it's not a bad way to train the animal. The main thing is that the construction was nailed firmly.
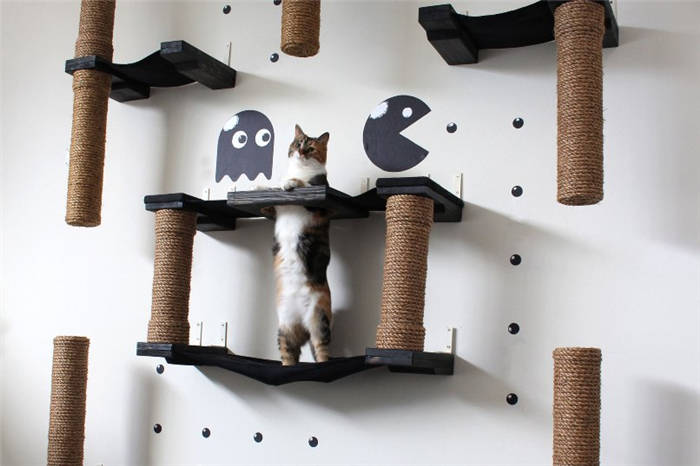
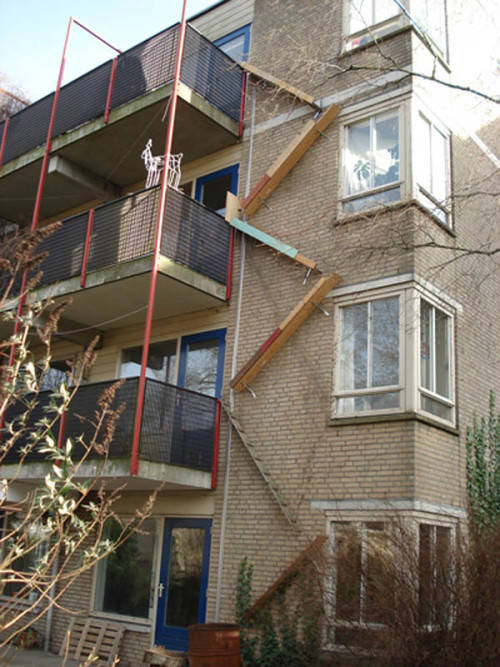
And here is a more reliable example of high-rise ladders. And it is beautiful and comfortable for a cat!

What materials can be used?
If you plan to buy all the materials, the product will still turn out noticeably cheaper than a custom-made one. Of course, it makes sense to use a variety of improvised materials, which in this case is the best fit. I will list the main ones.
As a support, which holds the entire structure, the most accessible are plastic sewer pipes with a diameter of 50 mm and 110 mm. Also suitable for these purposes and cardboard sleeves from roll materials, which you can ask in the appropriate store. Often choose for the "cat tree" and thick tree branches.
Actually shelves are made of furniture board, thick plywood, parts of chipboard from old furniture. The optimal thickness of the parts is 15-25 mm.
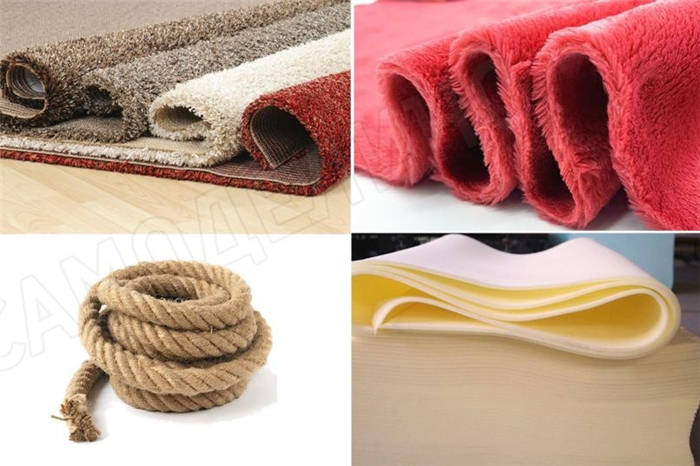
As a coating for shelves and other elements is used carpeting, faux fur or durable furniture fabric. A budget option is an old drape coat, a used rug, and so on. In order to make the shelves were soft, usually use a lining of foam rubber thickness of 10-20 mm. From the bottom of the shelves are finished with sheets of dense cardboard or fiberboard.
To organize curved surfaces, it is best to use sheets of thin plywood or fiberboard. An indispensable attribute of any complex for cats is a thick cord with a section of 5-10 mm. It is used for finishing posts. The cord can be bought in a hardware store. When assembling the structure you need metal corners, self-tapping screws, strips of galvanized metal, glue.
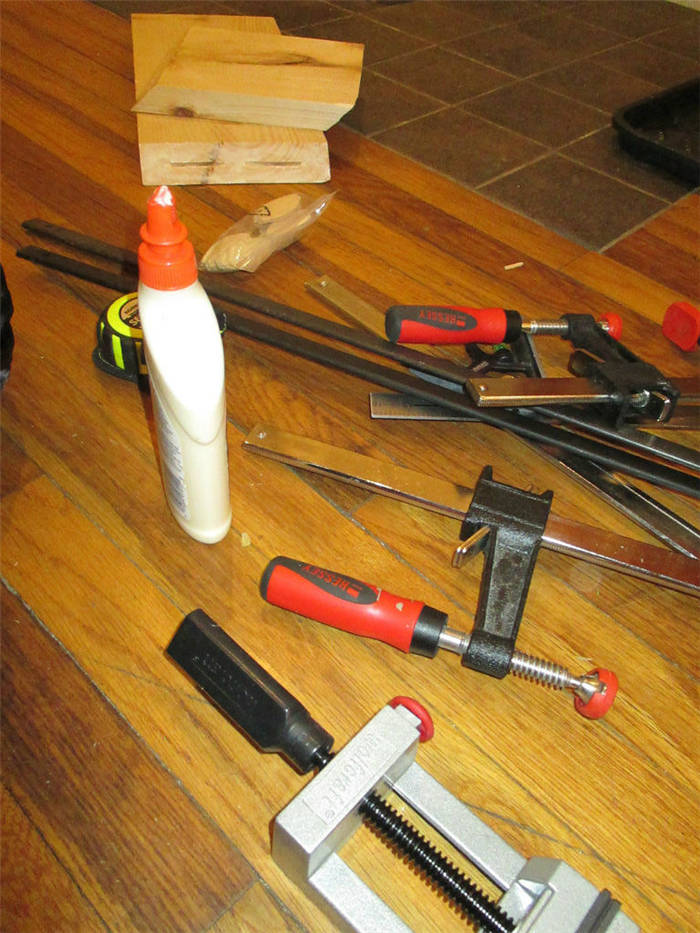
Recommended tools for assembling the construction
The set of tools needed to assemble furniture for cats can vary depending on the complexity of the product and the habits of the craftsman. A list of the most relevant of them is presented in the picture.
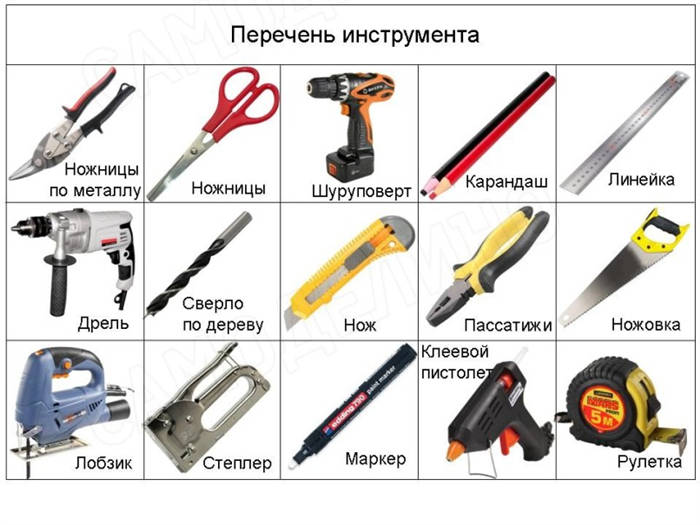
Of course, you can do without a screwdriver, if you use a screwdriver. If you do not have a glue gun, it should be purchased. This is an extremely effective device that you will use more than once. The furniture stapler is no less handy when assembling the product in question. Instead of an electric jigsaw, you can work with a hacksaw and an electric drill. In addition, I advise you to buy a drill bit with Velcro for sandpaper. This very inexpensive device will save you a lot of effort and allow you to get rounded surfaces on the wood.
Step 4: Make connections
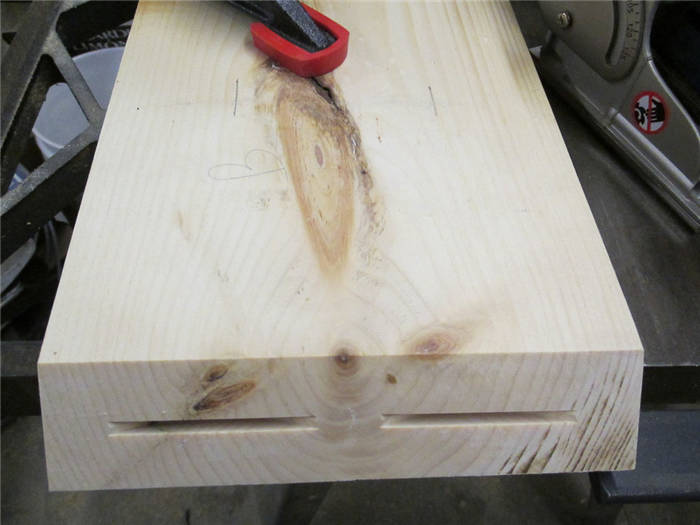
We will connect the parts of the construction with a biscuit connection, this connection is very similar to the stud connection, perhaps one of its variations. For it you will need a special tool. I decided to use biscuit inserts with a diameter of 10cm, after making a couple of test cuts, I got to work.
From the end of each board I decided to make two notches, some were at a 90 degree angle, but most were at 45 degrees. Try to keep your notches as uniform and centered as possible, this will pay off later during joining.
Step 5: Glue the main structure.
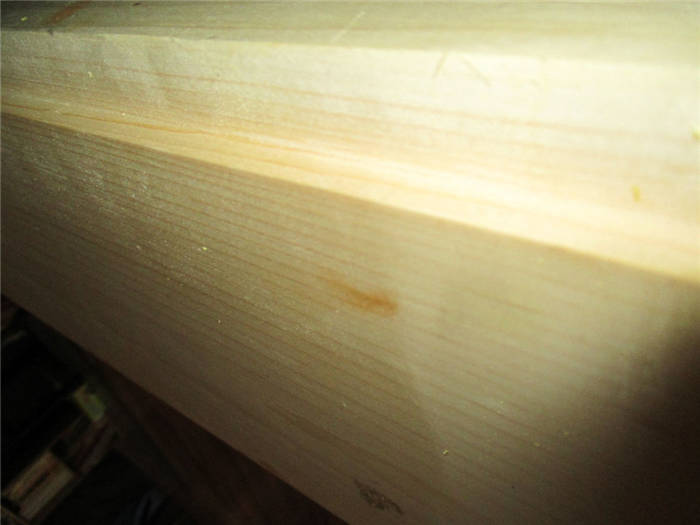
This is quite tedious, but the main rule of thumb is to take your time and glue small sections at a time. It's good if you have plenty of clamps and glue. Use a sponge and a rag to control the process and assemble the whole construction neatly.
In the 3rd photo you can see the groove I made for the LED cord. This was the first time I had used my Duwalt cutter.
Safe cat shelves with your own hands.
I'm going to show you how you can make your own cat shelves with a minimal budget. These are safe shelves from which neither cats nor kittens will get off.
The shelves can have different purposes, and, accordingly, they will have different sizes.
Step shelves.
Short shelves that act as steps to climb the area where you can rest.
Transitional shelves (over-the-door shelves).
Their purpose is to help the cat move from one place to another. They are convenient to hang over the doorway.
Cot shelves.
These are wide and long shelves. Cats can lie and rest on them.
Natural "shelves."
These are anything that a cat can use as a lie-down shelf. This can be a closet, refrigerator, shelving unit, etc. If the cat can't get on that natural shelf, step shelves can help.
Write yourself a list of what you need to buy to make the shelves, go to the market and buy what you need.
Drawing, scale and tape measure.
First you need to find a free wall for the climbing wall, 2 sheets of A4 paper, a pencil and an eraser. Then give the man an order to measure everything and start making magic.
We chose a pancake 7 meter wall in the hallway and involved 4 meters of it. On the drawing I took 1 mm for 1 cm and gave myself to fantasy. Total came out 3 shelves of 40 cm, 4 shelves of 25 cm, 2 tubes of 100 and 40 cm. Plus, crosspieces, ladders and a hammock.
If you draw everything in the drawing to scale, then it will be easy to calculate the necessary materials.
The necessary materials, quite budgetary
Let's do this, I'll list and approximate price (current in Leroy Merlin for the Vologda region for May 2022), plus I'll add a lot of pictures in the gallery, and then you can go back and look if you have any questions.
1. Boards, 220 cm. We took 2 pine laminated scaffolding, 20 by 100 cm and 20 by 120 cm. The cost is 340-420 rubles apiece.
3. 10 pipe plugs you shouldn't have taken . They do not fit the diameter of the pipe, only at one end with an extension. We first broke them, then threw.
4. Carpeting, looks like thick felt. 168 rubles/m2. 2 pieces of 20 by 200 cm + 36 by 200 cm for wrapping the pipe
5. Jute 10 mm thick, 40 meters. 1152 rubles for 2 skeins of 20 meters. This length was enough for 1 meter of the pipe.
6. Fixing studs, 8 by 100 mm, 15 pieces. They are needed for an invisible attachment of the shelves to the wall. The cost of 1 – 58 rubles
7. Drill under the SDS+ fastener 8 to 160 mm. It is needed to drill holes in the shelf and avoid cracking.
8. Glue. Immediately take the glue Moment installation MV-100, it holds everything, does not smell and is suitable for all porous surfaces. It costs 534 rubles and requires another gun for sealants.
9. Ball cutter or a blade wheel for a drill, 30 by 20 by 6 mm, we treated the edges of the boards with it, so that they were smooth. Costs 64 rubles.
10. Sandpaper, 2 types: at 700 and 1300, 30-60 rubles per sheet of A4
11. Furniture corners, 1.5 cm, 8 rubles apiece. We took 15 just in case for fixing the pipe to the shelf
12. A 5×250 cm pine needle rail for decorative steps, 127 rubles.
We made the following tools: screwdriver, hammers, screws 10 mm, hacksaw, construction knife, angle