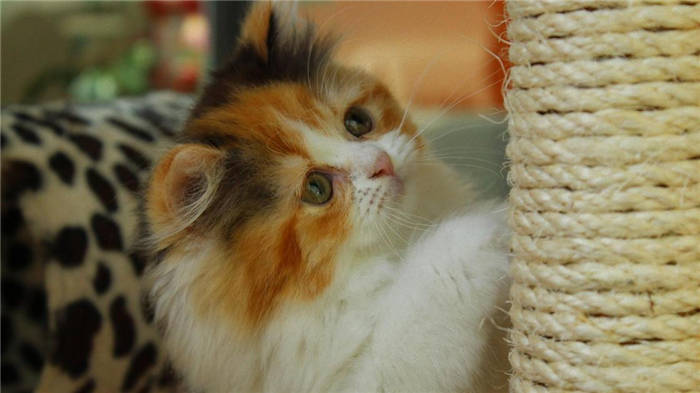
Wood is used to make scratchers as a reliable environmentally friendly material. Usually such a scratching post is attached to a wall, table legs or other vertical surfaces. A wide board can be placed at an angle if there is a reliable support.
- I show you how to make a vertical scratching post with your own hands in just 1 hour, which the cats will be delighted with
- Moor from a pipe
- Cardboard scratching post
- Choosing the size and shape
- Necessary materials and tools
- About the harm of removing claws
- How to train a cat to use a scratching post
- How to make a scratching post from a pipe with your own hands
- What do you need
- How to make a scratching post
- What other options are available
- How to make your own cat scratcher
- What kinds of scratching posts are available
- Corner ones .
- Wall
- Floor claws
- Clawboard
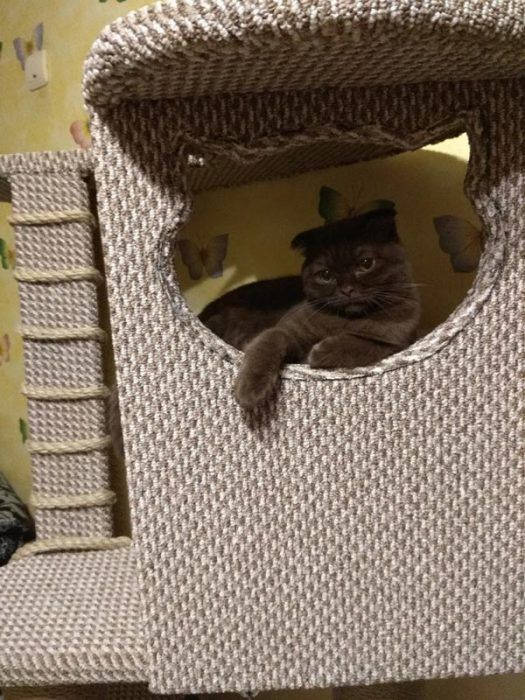
- With a house
- Which scratching post is better
- What is the best rope for a scratching post sisal or jute
- What is the best way to glue the rope to make it last for years
- What to make a post from
- What we need
- Making a scratching post with a house by ourselves
- Tools
- Materials and costs
- Read more about materials
- Workflow
- Preparing the parts
- Assembly
I show you how to make a vertical scratching post with your own hands in just 1 hour, which the cats will be delighted with
I have 3 pets living at home who love to play, often run amok and love to chew on everything in a row. I decided to make them a large vertical scratching post so they can sharpen their claws.
- Plastic pipe with a diameter of 70 mm;
- A piece of countertop;
- Metal corners, self-tapping screws, screws with nuts and washers;
- Metal hacksaw, tape measure, marker, pliers, knife;
- Screwdriver;
- Jute twine with a diameter of 12mm;
- Carpeting;
- PVA glue;
- Hot glue, PVA glue and stapler;
I want to note that for the manufacture of this scratching post I bought only jute twine (20 meters at a price of 15 rubles per meter) and a piece of carpeting, all the rest I had.
You can use instead of carpeting some old palas or other suitable material.
Moor from a pipe
In the wild, a cat sharpens its claws on rocks or trees. Clipping a cat's claws, according to the co-authors of "Cats. The Most Complete Illustrated Encyclopedia" by Svetlana Dudnikova and Olga Esaulenko, is a dangerous procedure. It is better to install a special scratching post indoors, so that the animal will sharpen the tips of the claws on their own. Such a device can easily be made yourself from an ordinary pipe.
- PVC pipe with diameter of 70 mm – 90 cm;
- wooden bar – 80 cm
- round wooden billet – diameter 60 cm;
- a piece of carpeting – 1 m²;
- jute rope with a thickness of 12 mm – 18 m;
- scissors;
- PVA glue;
- glue-pistol;
- felt-tip pen;
- jigsaw;
- drill;
- screws;
- furniture corners;
- pipe plug;
- nail polish remover;
- cotton pad.
- Cut a 90 cm long piece of pipe.
- Circle the pipe in the center of the piece of carpet and cut a hole.
- Drill holes along the bottom edge of the pipe and screw in 4 furniture nooks.
- Attach the pipe by the furniture corners in the center of the wooden piece.
- Slide the carpet over the top of the pipe through the hole. Trim the edges of the carpeting to the diameter of the wooden circle and glue over the entire area.
- Sand the pipe with sandpaper, wipe it down with lacquer remover. Glue pieces of carpeting from the bottom and top 10 cm high.
- Dip a block of wood into the pipe to make it heavier, put a stopper on top and seal it with a circle of carpet.
- Wrap burlap rope around the tube, using hot glue to hold the joints together.
Cardboard scratching post
The floor scratcher should not be too light. So use corrugated cardboard to make it. Such a simple but functional thing becomes a pet's favorite place to play and rest.
- shallow cardboard box with a 5-10 cm border;
- ruler;
- felt-tip pen or pencil;
- thick corrugated cardboard;
- utility knife;
- PVA glue.
- Measure the length and height of the side of the box. Transfer the measurements to a separate piece of cardboard.
- Cut out the piece using a box cutter. Place the strip on the cardboard, trace and continue to cut out a few dozen more pieces.
- Glue the two strips together and insert into the box. Continue gluing the remaining strips to the previous strips until the box is completely full.
- Glue the joined strips to the bottom of the box and to the walls for security.
Place the prepared scratching post closer to where the cat walks. You can show your pet what the device is for. Guide his paw across the surface of the scratcher. Cats release their claws only when necessary, according to Gill Deborah Gill, author of Cats: A Mini Encyclopedia .
Choosing the size and shape
Regarding the size of the scratching post, there are certain standards: the larger the pet, the larger the scratching post should be. The parameters of the product directly depend on the size of the cat. It is especially important for wall models, so that, sharpening claws, the cat will not scratch the wallpaper. The width of the clawfoot in this case should be equal to the width of the extended paws of the animal. You can calculate the length of the scratching post if you add 5-10 cm to the length of the cat (not including the tail).
For Maine Coons, the height of a vertical scratching post should not exceed 100 cm, especially if there is a lying area on top. This is necessary to relieve the excessive load from the front paws when jumping. For a kitten make a scratching post "for growing up", focusing on its approximate future size as an adult.
If the living space allows, it is better to complement the claw sharpener with a cot and a house, one or more.
The variety of models of claw sharpeners is amazing. We can distinguish 2 main types of scratchers: floor and wall-mounted (or hinged). Within each type there are many variations. So, floor scratchers can be flat (placed horizontally or at an angle), in the form of a post, equipped with additional cradles, ladders, bridges and houses. The more cats in the house, the more elements should consist of the claw box.
And almost all constructions can be made with your own hands from improvised means. The main thing – your desire and willingness to spend a certain amount of time on your pet.
Necessary materials and tools
A cat's sense of smell is much thinner and more sensitive than a human. Therefore, in the manufacture of such an important and necessary attribute of the cat's life, as a scratching post, you should use only natural materials that do not have a pronounced smell. So, will do fine:
But artificial materials can cause allergies and cause serious damage to the health of the cat. For example, you should not make a scratching post from a plastic pipe – plastic has an unpleasant smell and is allergic.
Another important advantage of products made of natural fibers – they are good at removing static electricity.
The surface of the scratching post should be rough and strong, but not too hard. The scratching process should give the cat pleasure and relax it, and not make the animal feel uncomfortable, and even more painful, and be the reason of broken claws. The cat's claws should penetrate several millimeters deep into the fabric, tearing the fibers that make it up, but not clinging to them. From this point of view, the best solution is sisal rope.
Try not to use nails and metal staples to connect the parts of the claw box, or fix them tightly and firmly, so that your pet does not get hurt while cleaning the claws. It is desirable to place the fastening parts on the underside of the product.
The material for the scratching post also depends on the size of the animal. If the cat is small, it is better to give preference to models made of cardboard or corrugated cardboard – On a too hard coating the baby can damage its claws. However, the claws of the large feline family are stronger and harder, so you should make a rag for them from more durable and long-lasting materials. For a large cat natural wood will do.
Only wood is better to choose not strongly smelling and without knots, having previously cleaned it from the bark.
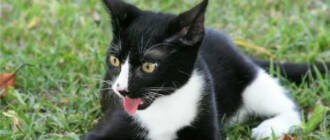
About the harm of removing claws
To teach a cat to use a scratching post, it takes a lot of patience and time. Many owners who do not want to burden themselves with the education of a pet may decide to take such a step as an onychectomy, i.e. removal of the claw phalanx (surgery "soft feet"). By the way, you can read a separate article about this operation on our portal.
It is in this operation that people see the solution to their problems with a naughty pet, forgetting about the irreparable damage that they do to the cat. Without claws, the pet becomes disabled, unable to move normally, it will literally have to learn to walk again, shifting the center of gravity from the toes to the heel. This is equivalent to if a person had their toes cut off.
This operation is detrimental to the musculoskeletal apparatus of the pet, problems with internal organs are possible, not to mention the fact that the removal of the claws will completely "unbalance" the cat, making it insecure and fearful. Once on the street, such an animal is unlikely to last long.
Fortunately, many veterinary clinics are adamantly against onychectomy and refuse to provide this service to their owners.
An excellent substitute for "soft paws" is the use of anti-scratchers. About what to choose and how to put them on a cat, read our site.
How to train a cat to use a scratching post
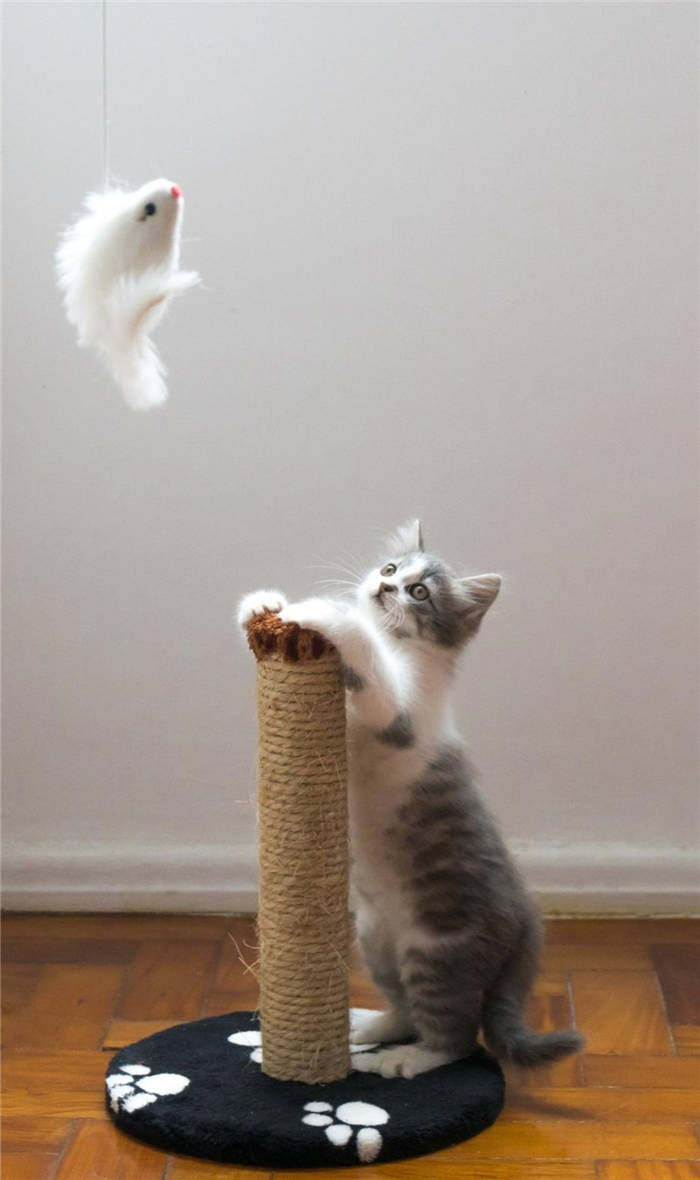
As soon as the cat scratcher appeared in the house, you need to attract the attention of the animal to the new thing. You can hang a toy on a string, a bow or a ball on it for the cat to notice.
When the cat walks up to the scratching post you should praise and pet it, so that the cat understands that the owner approves of its actions. You can gently take the cat's paw, lay it on the scratching post and move it down so that the cat understands how to use the object.
In case your pet has forgotten about the scratching post and is spoiling other things, do not insult the pet and shout at it, just take it to the scratching post so that the cat will understand that you may not sharpen the claws there, and you can do it here.
In some cases you may also use a few drops of valerian on the surface of the device, then the cat won't pass by.
Trying to wean a cat from sharpening its claws is impractical and unreasonable, since the animal will do it anyway due to its natural need. You can either make a scratching post with your own hands, or buy one at a pet store.
How to make a scratching post from a pipe with your own hands
What do you need
- PVC pipe;
- a piece of wood;
- felt-tip pen, pencil or pen;
- round wooden blank;
- cloth;
- scissors;
- glue spray;
- glue gun;
- jigsaw;
- drill;
- screws;
- sisal rope or jute;
- pipe plug;
- acetone is optional;
- rag or cotton pad – optional;
- spray paint – optional.
How to make a scratching post
Draw a circular piece on the fabric, a few centimeters away from the edges. Cut the circle out of the fabric and glue it to the tree with fixing spray. Secure the sides and back with hot glue.
With an electric jigsaw, cut the circular piece outlined on the piece of wood. Screw it to the round base with screws. You can do this in the center or on the side.
Mark points for screws on the tube, drill holes and screw the tube to the wooden piece.
Put a stopper on top. The authors of the master class at the end paint it with spray paint. If you want to do the same, first wipe the plug with acetone.
Wrap the entire pipe up to the plug with rope, periodically smearing hot glue.
If you wish, remove the plug, paint, dry, and put it back on the pipe.
What other options are available
The pipe can be attached to the base with metal corners, as in this video:
How to make your own cat scratcher
This is a community about pet cats where you can share photos, stories, and other purrfect content about aspects of life with purrfect slipper lovers.
✔Ordering other users. Using foul language or swearing is forbidden. Replacing some letters with "@", "#", "$", etc. if the source word is computable is not exempt from liability. Categorically do not recommend the use of coarse proverbial language, as well as references to physiological abnormalities;
✔ Posts off-topic. Posts must be relevant to the stated topic of the community;
✔ Posts about helping animals in the community without the obligatory tags: #dobryeruki #help #unrated
We'd also like to remind you that there is a special community on Pikaboo called "Aybolit. Help for Animals"
Dear friends who don't like posts asking for help for animals, we really ask you to add the tags: #help #dobryeruki, etc. to the blacklist.
✔Plagiarism! Don't misappropriate other people's ideas, writings, or other author's content.
Incorrect comments in the comments, outright rubbish, provocations, propaganda of cruel and irresponsible attitude to animals, etc. participants are blacklisted without additional explanations and warnings!
Do not forget to put the tag "my", "cat", "kotomafia" if you post your pets.
What kinds of scratching posts are available
Lately, you can see an abundance of scratchers in pet stores. What kinds are out there right now.
Corner ones .
There are corner ones that can be attached to the corner of a bed or chair. Your cat is scratching your couch? Here's your solution – buy a corner scratching post, and the problem is solved.
Wall
Does your cat scratch the wallpaper? Buy a wall scratcher, and the cat will scratch the scratcher instead of tearing up the wallpaper.
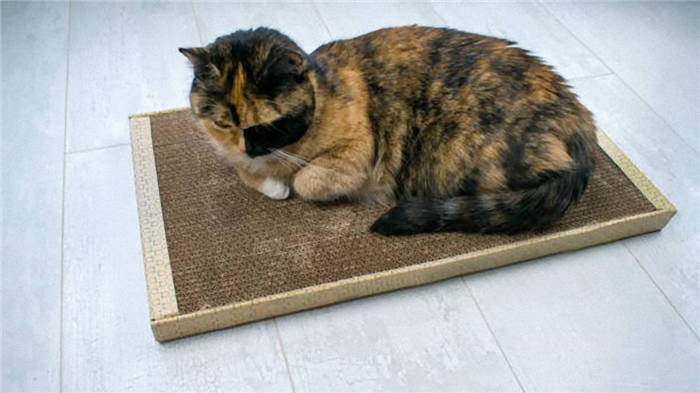
Floor claws
The most common and affordable floor scratching post made of cardboard.
Clawboard
This is a common hinged scratching post. It can be attached to a house, bed, chair or chair.
With a house
There are also scratching post that are sold together with a house or a whole complex.
Which scratching post is better
Which one is better – you decide. It also depends on your goals and objectives. For example, if your cat fights on the corner of the sofa, of course, the corner one will do. If the cat fights on the wall, you're better suited wall-mounted. If you need a cheap one, a cardboard one on the floor is more likely.
We decided to make a large scratching post for our cats. And in this part of the article I will tell you how and what we made it from.
What is the best rope for a scratching post sisal or jute
Jute is soft, sisal is harder and most suitable for scratchers. In addition, it will last longer. The main thing is that sisal should be odorless as cats do not like strong smells. And I've come across these kinds of sisal, which were impregnated with something and had a bad smell.
What is the best way to glue the rope to make it last for years
If you buy a scratching post in a pet store, you can see that the rope is glued with a special glue gun. The glue is spot on and the rope doesn't fit tightly. Cats rip it off very quickly. The best thing is to use PVA glue to attach the rope, and don't spare it. If you glue the sisal with PVA and do not spare it, you will not need to change the sisal every year, it will last 10 years or more.
What to make a post from
The best thing is PVC pipe, which you can buy at any construction market or plumbing store. Such a tube is hollow inside and this makes our product much lighter than if you make it from another material.
What we need
- A 45×45 cm chipboard square
- Piece of carpeting
- Two round slugs about the diameter of the tube
- An 85 cm long PVC pipe with a diameter of 10 cm
- A 40×40 cm chipboard square
- Synthetene
- Soft fabric
- Sisal 50 meters
- Stapler
- PVA glue
- 10 self-tapping screws
I started from the bottom, with the foundation. The base was a chipboard measuring 45×45 cm (1). I had it upholstered with a piece of carpet. By wrapping a board with carpet (2) and stapler attached to the bottom of the board.
Making a scratching post with a house by ourselves
In this article I will share a project of a scratching post with a detailed description of the assembly. This kind of mini-complex has been stipulated:
Tools
Materials and costs
Read more about materials
Store scratchers have a body of houses mostly made of fiberboard. This is the so-called economy version. It is not durable enough. Complexes made of fiberboard quickly wear out.
That's why I suggest combining materials: chipboard + MDF body and platforms. From fiberboard you can make only the rim on the top doghouse. In this case it is better to get a piece of fiberboard from your own supply or from acquaintances in order not to buy a whole sheet, although it is not expensive. We will make the body of the house from MDF or chipboard in order to make the left part of the construction heavier, because the right post is high enough and kitty may fell down during the game together with the scratching post.
Make the post round or square – a matter of taste of the owner. It's the same for cats. I use a more affordable and cheaper material – a regular square bar. But if you want you can buy a rounded bar or use a cutter from farm tools.
IMPORTANT: do not use plastic sewer pipes as poles. It is convenient and cheap, but harmful. Plastic creates static electricity and will be unpleasant for the pet. In the end, your kitty will go back to the wallpaper and the couch.
The best option is faux fur. But it's not economical if you buy it in retail stores. I opted for plush . It is inexpensive, there are "cat" ornaments – with paws, for example. Its only disadvantage – thin. But that's okay. Under it, you can put a small layer of synthetic padding. Another interesting option is carpeting . Its advantage is good wear resistance to claws.
IMPORTANT: do not use metal objects for fasteners! All kinds of corners, plates should not be present. That said, there are a lot of master classes on the Internet that use just such fasteners. On the one hand it is reliable, on the other hand it is not safe for the animal. Cats love to zealously sharpen their claws. And if the claw touches the metal, it can easily be damaged. The cat's misery will cost a pretty penny in vet fees. Use dowels and glue, and self-tapping screws only in places inaccessible to claws, sinking them into the wood.
Workflow
Preparing the parts
- Saw all the necessary parts out of the chipboard according to the given dimensions with the electric jigsaw.
– Lower deck 400/500 mm
– Side walls of the house 2 pcs. 328/330 mm
– Rear and front walls of the house 360/330 mm
– Middle platform 400/250 mm. Here we saw a hole to the right under the bar diameter.
See below for a diagram of how to cut the chipboard.- I made the roof of the house, as well as the top platform, from MDF with a thickness of 10 mm. This will lighten the construction in the right places. I still had some leftover MDF, so there is no cost for it in the estimate. In addition to MDF you can use plywood no thinner than 10 mm or the same chipboard.
- In the center of the front wall of the house we saw a shaped hole with a jigsaw with a diameter of 160 mm. I have a simple round hole.
- Before you begin assembling the "cover" for the house: all 4 sides cut one piece and sew in one place, sew the roof on the perimeter. We cut out parts for the platforms. Patterns at the end of the article.
Assembly
I put this section in a separate article. Experienced masters do not need it. Well, for those who are new to this kind of work, it will be a good support.